Diamonds: From Rough to Polished
Diamonds: from Rough to Polished
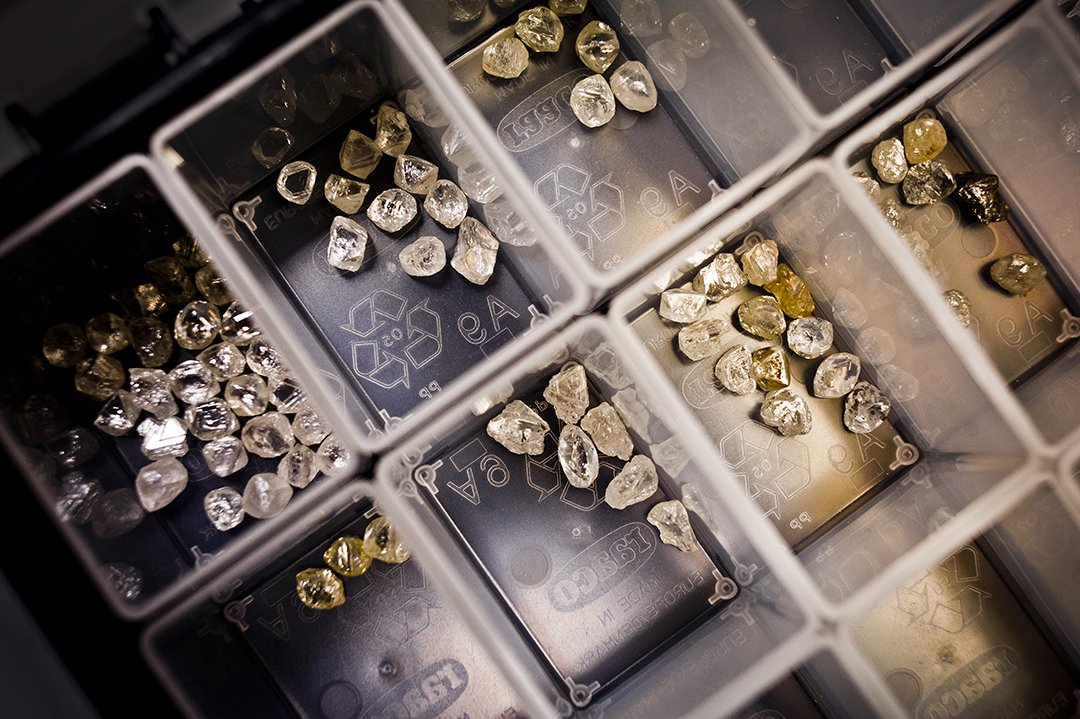
We all remember the mining scene in Disney’s Snow White, with the seven dwarfs working their way through the ore in a mine filled with sparkling, shiny diamonds, right? How easy would it be if this would be reality: ready-made, beautifully polished diamonds sitting in the mines, waiting to be unearthed and set into jewelry. Unfortunately, not all rough diamonds are created equal, and they’re definitely not all pretty. They come in all shapes and sizes, and need to undergo a laborious make-over process before they become the sparkling, beautiful gemstones we love.
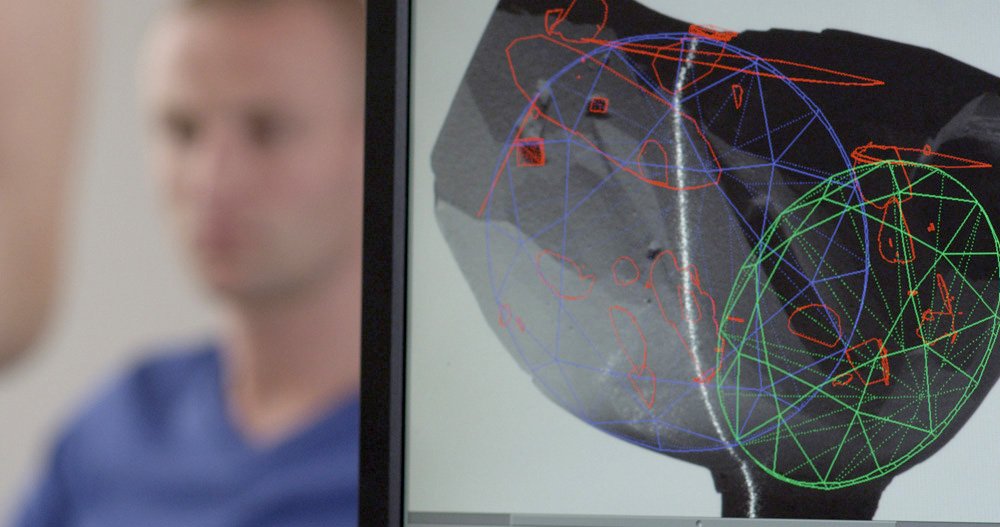
Mapping and planning
When a rough diamond arrives at the diamond polisher, the first step is to make a 360° digital mapping of the stone and start the planning process. Every diamond is unique, and therefor asks for a unique, custom-made approach. When you’re lucky, your rough diamond is perfectly shaped into a double pyramid: an octahedron. The octahedron can be cut in half, and you already have 2 shapes that resemble the desired result, reducing volume loss and making it easier to polish. Octaheder-shaped diamonds are very common, but they also come in a range of other shapes: from flat triangles to formless blobs.
The job of the polisher: using advanced software and his expertise to analyze the stone and find the best solution to maximize the result. This means: turning the rough stone into one or more polished diamonds, balancing the biggest size, best proportions and minimal to no inclusions to attain maximum profit.
Sawing and Bruting
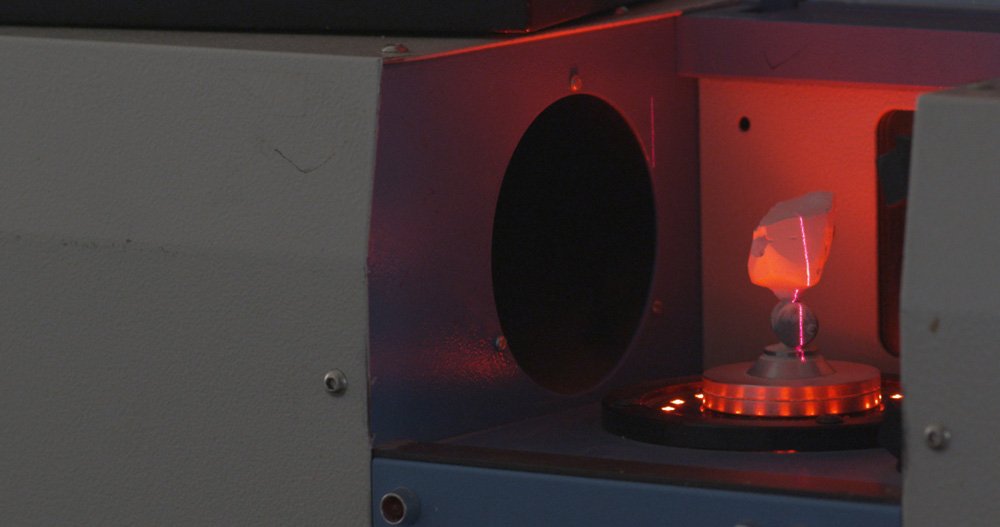
When the planning part is done, it is time to start working on the actual stone. Most rough diamonds get divided in two or more pieces. Today, this is almost exclusively done by laser cutting. Another method is sawing the stone with a thin, copper blade covered in diamond powder. Laser cutting is a lot quicker and easier and is the preferred method, but sometimes diamonds still get sawed – for example when there is lot of tension in the stone and laser cutting would put too much pressure on it. An older method, that is no longer practiced today, is called ‘Cleaving’: splitting the diamond in two with a single blow of hammer and chisel.
The next step is bruting the girdle of the stone. A machine moves the diamond against a spinning wheel covered in diamond powder, making the girdle round.
Cutting
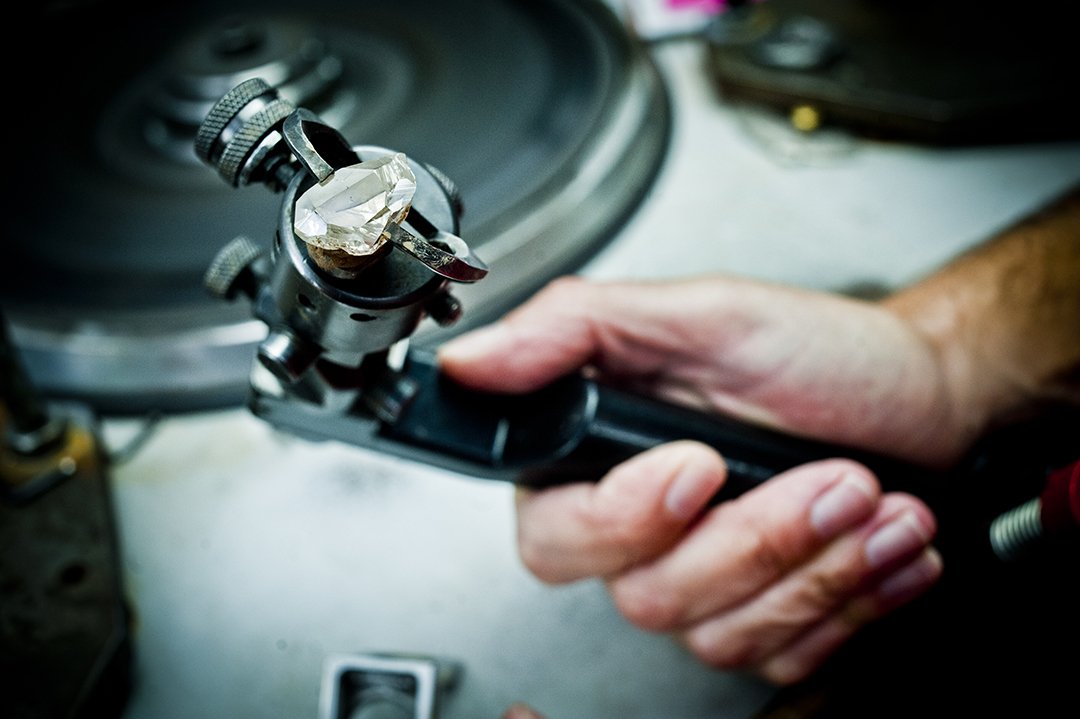
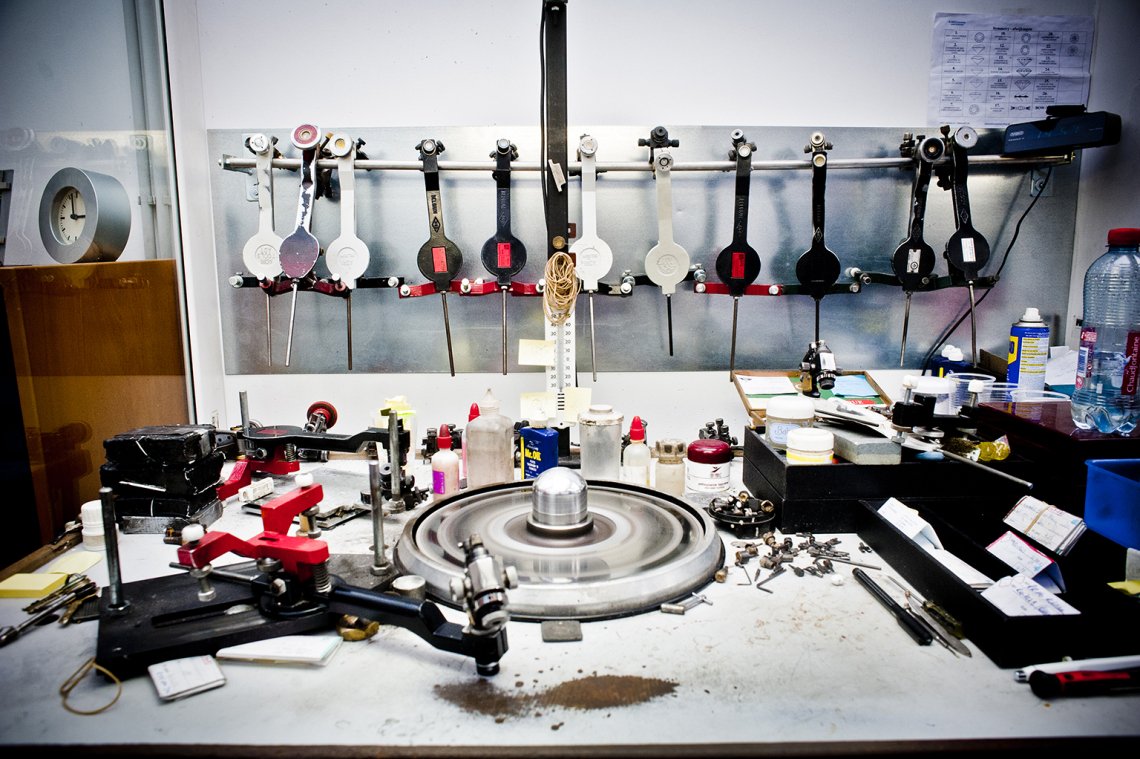
The basic shape is now done, so it’s time to start adding facets! The first 8 facets on the pavilion and the crown of the stone get blocked in first, followed by the 16 main facets on each side. After that more and more smaller facets get added to those, until you get 56 facets spread on both sides of the diamond, and one top facet: the ‘table’.
All of this happens at the polishing wheel, a cast iron disc covered in diamond powder and oil or glue, spinning at a speed of 3,500-5,000 rotations per minute. The polisher attaches the diamond to a diamond tang, a special arm with clasp that holds the diamond. Fun fact: this polishing technique is quite old and dates back until the 14th century, but scientists haven’t been able to explain yet how this process actually works. Is it a whetting, a chemical or a thermal process that results in the diamond being polished? No-one knows, but it works and that’s what matters!
Almost done
When all the facets are done, the very last step is to make sure that every little facet is completely smooth and even, and make a last check for symmetry, polish and to see if all the angles are perfect. As you can imagine, this whole process takes up quite some time, going back and forth between the polisher and planner until the ideal result is met (the fact that diamond is the hardest material we know doesn’t help either). On average, a stone looses about 60% of its weight during the polishing process. But in the end, it’s all worth it!